Stableproxy proxy servers paired with Helium Scraper - StableProxy
Published
Jun 24th, 2026
Topic
Manual
Reading time
10 mins


Author
StableProxy
About the Helium Scraper Program
In the field of website scraping, specialized tools offer a plethora of manipulations. Helium Scraper is distinguished as a tool that simplifies the process of web scraping, making it comprehensible and simple for the user. However, when it comes to the integration of proxy servers, this issue becomes a critical point that needs to be managed to ensure smooth and unhindered extraction of crucial data.
Proxy Server Configuration
NOTE: First of all, make sure that Helium Scraper is installed on your PC. You can download it and enjoy a free 10-day trial.
- Open Helium Scraper and click "File", then select "Proxy List" from the list.

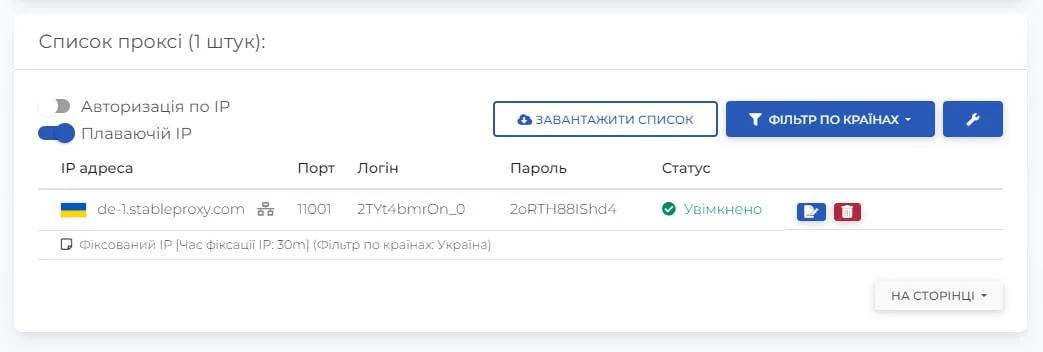
- Configure the proxy server parameters based on the data in your control panel
- Enter the Login and Password of your Stableproxy proxy server.

- Now open your Helium Scraper project and go to the Project>Settings menu section. Remember to go through these steps each time you start a new project.

- Change the "Enable Proxy Servers" parameter value to True and click OK to save the changes.

- To check the proxy's work, open the main Helium Scraper browser and goto a website that displays IP addresses. Verify that the IP address has indeed changed.
Congratulations! You have successfully integrated Stableproxy's proxy servers with Helium Scraper.
StableProxy.pl © 2023-2024