Installing a proxy server on macOS - Instructions from Stableproxy
Published
Jun 27th, 2026
Topic
Manual
Reading time
10 mins


Author
StableProxy
How to Set Up a Proxy Server on macOS Devices
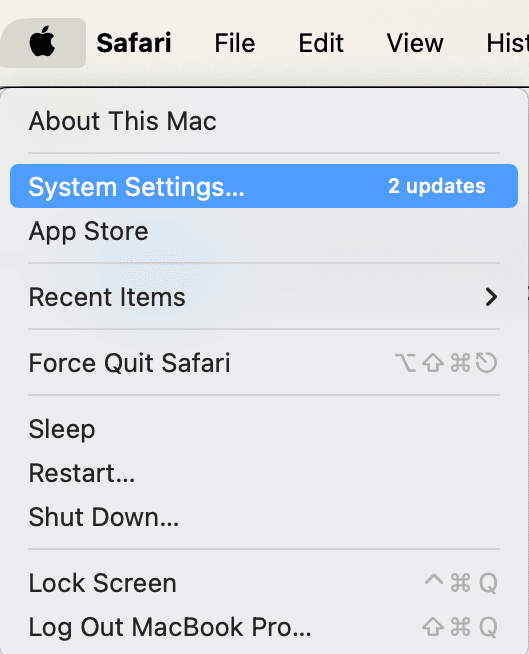
- Click on the Apple icon located in the upper left corner of the screen and select System Preferences from the menu.
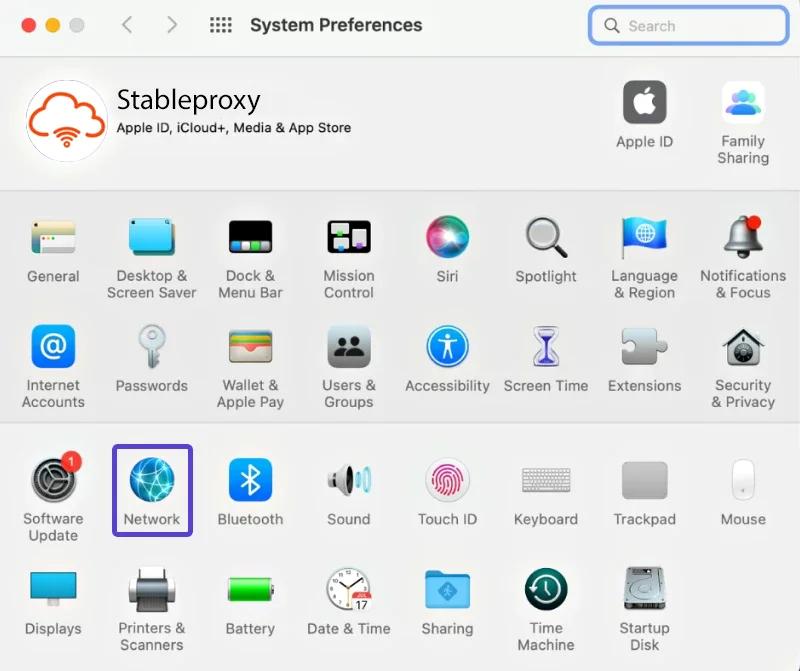
- Open the "Network" section by clicking on the corresponding icon.
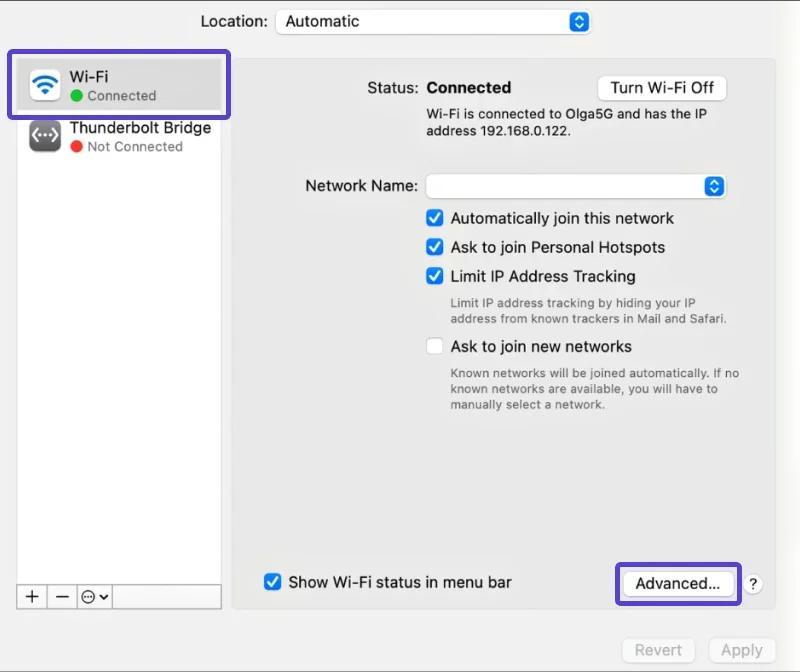
- Among the list of available networks, select the one whose settings you want to change. Then, click on the Advanced button in the lower right corner of the window.
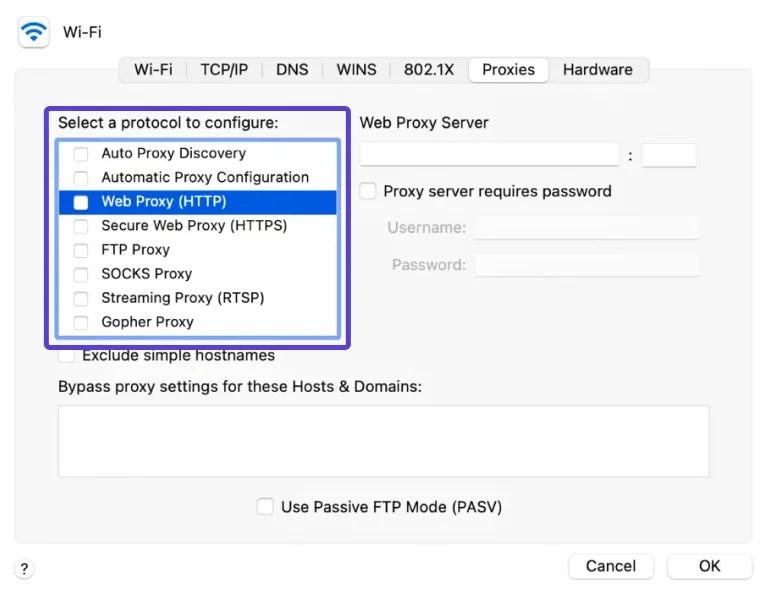
- In the window that opens, go to the Proxy tab and activate the options you need:
Web Proxy (HTTP)
Secure Web Proxy
(HTTPS) SOCKS Proxy
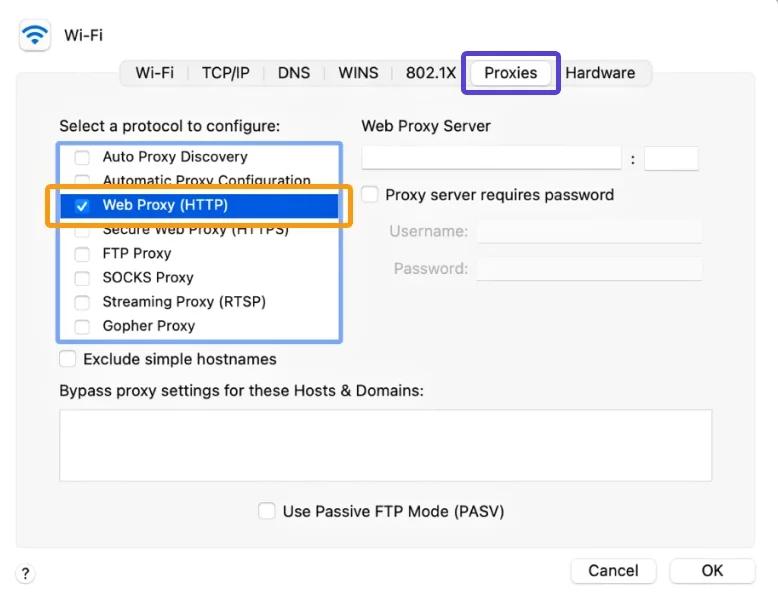
- In the Web/Secure Web/SOCKS Proxy Server lines, you need to enter the parameters of your proxy server.
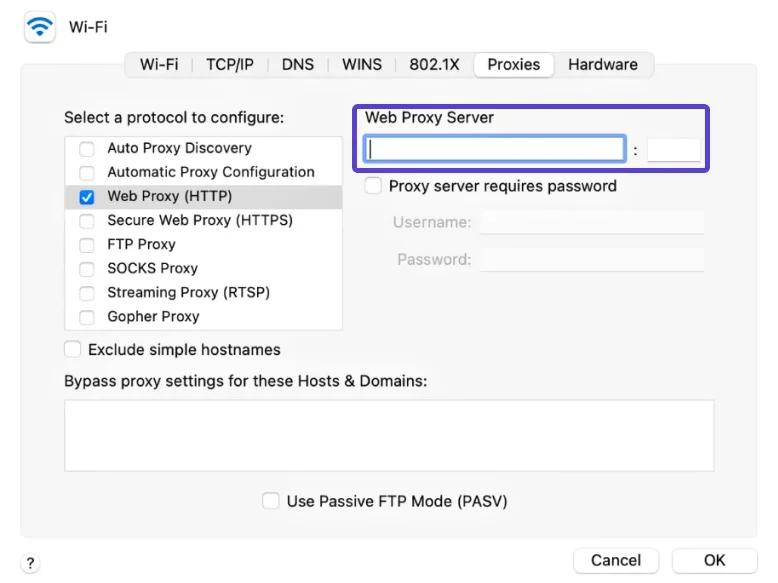
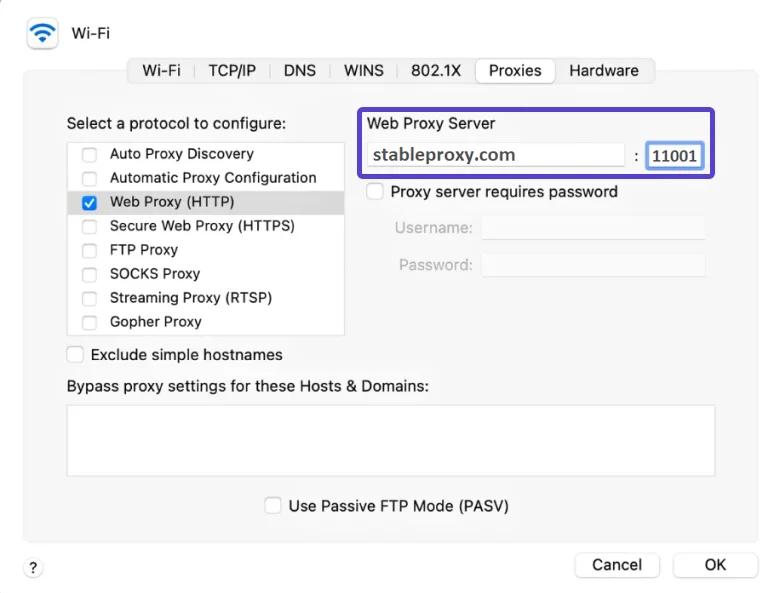
- Specify the address and port of the proxy server:
Proxy: stableproxy.com
Port for HTTP/HTTPS: 11000-12000
Port for SOCKS5: 11000-12000
- If you need to enter a username and password to access the proxy server, enable the corresponding option "Proxy server requires password".
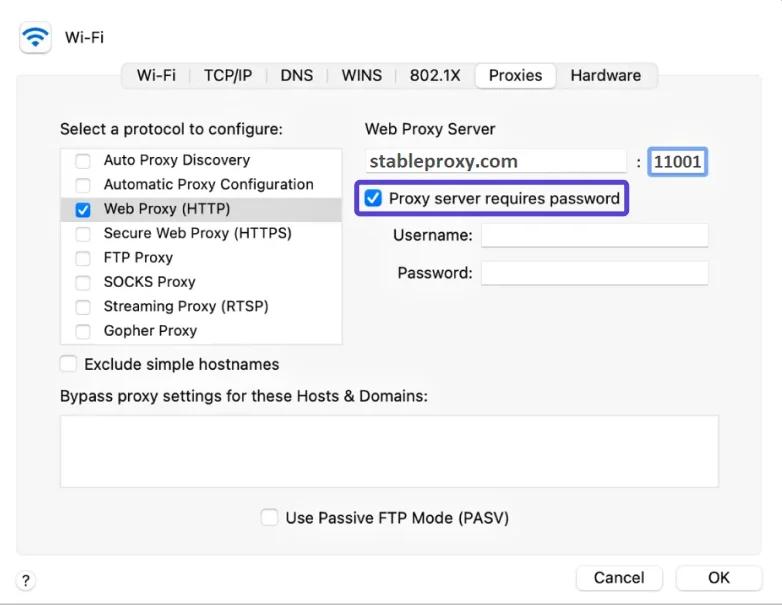
- After enabling this option, the system will ask you to enter a username and password.
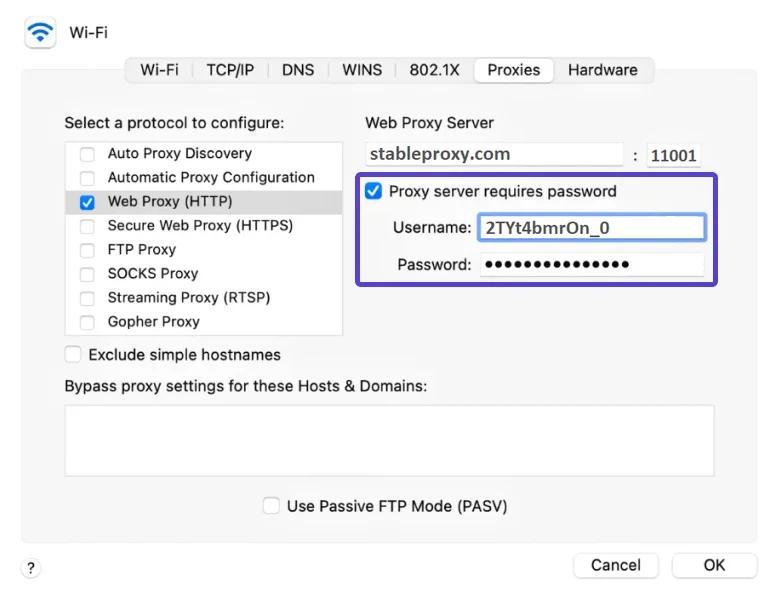
After completing the setup, click OK to save the settings and the Apply button to activate them.
Now you are using a proxy.
How to Remove a Proxy
If you wish to return to the default proxy settings, you need to uncheck all
◻️ boxes.
As you can see, setting up and deactivating a proxy server on Mac devices does not take much time and effort. If you are interested in other ways of integration or want to learn more about a specific tool, refer to the integration instructions on this site.
StableProxy.pl © 2023-2024