How to set up a proxy in ParseHub - Simple step-by-step guide
Published
Jun 27th, 2026
Topic
Manual
Reading time
10 mins


Author
StableProxy
Description of ParseHub
ParseHub is a powerful web scraping solution designed to extract information from websites in a well-structured format. This tool greatly simplifies the process of collecting data from web pages by performing automated information extraction. ParseHub allows you to easily select and extract various data elements, such as text, images, and tables, from website pages without requiring special programming skills. ParseHub offers a visual interface through which you can navigate and interact with web pages. This makes it a convenient tool for both beginners and experienced users to collect data from various web resources.
The procedure for integrating Stableproxy proxy servers with ParseHub is simple and straightforward.
First and foremost, make sure that your IP address is whitelisted on the Stableproxy control panel in the Tariff Plan > Manage Whitelisted IP Addresses section. Be prepared to provide your credentials as they may be required for authentication in ParseHub.
Let's consider step by step:
- Download ParseHub and install it on your computer.
- Launch ParseHub.
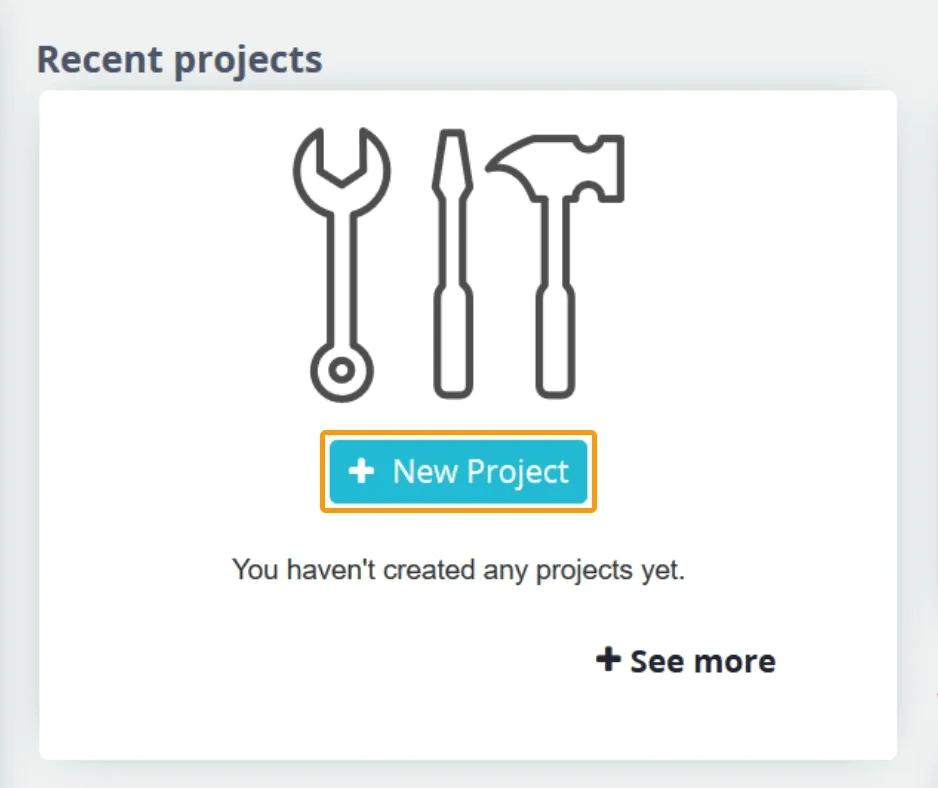
- Create a new project by pressing the "+ New Project" button on the start screen.
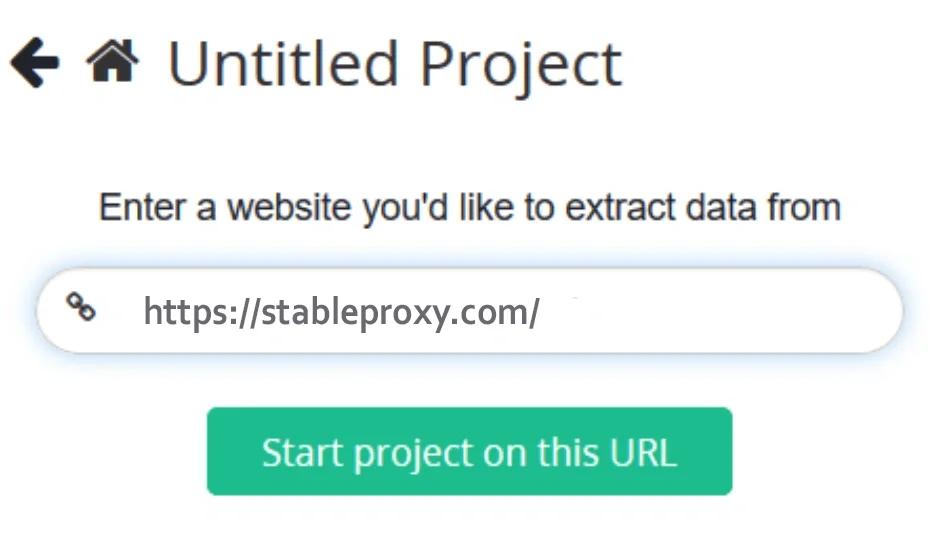
- Enter the URL of the site you want to extract data from, e.g. stableproxy.com and press the "Start project on this URL" button.
- Wait for the project to be prepared and then move into "Preview" mode.
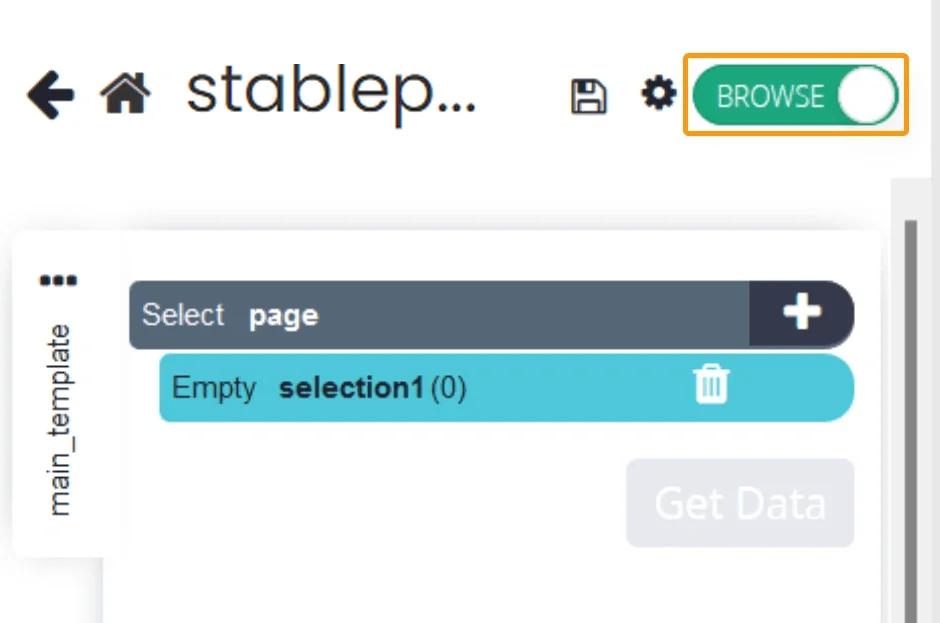
- When the "Overview" slider turns green, click on the dropdown in the top right corner and select "Options".
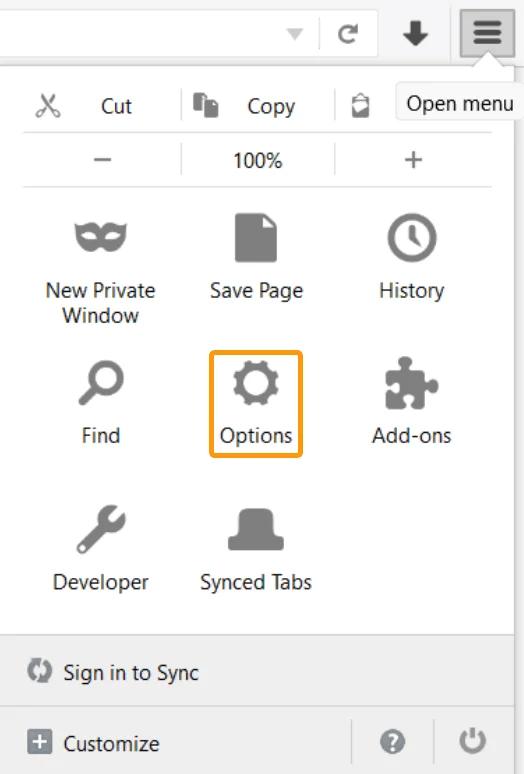
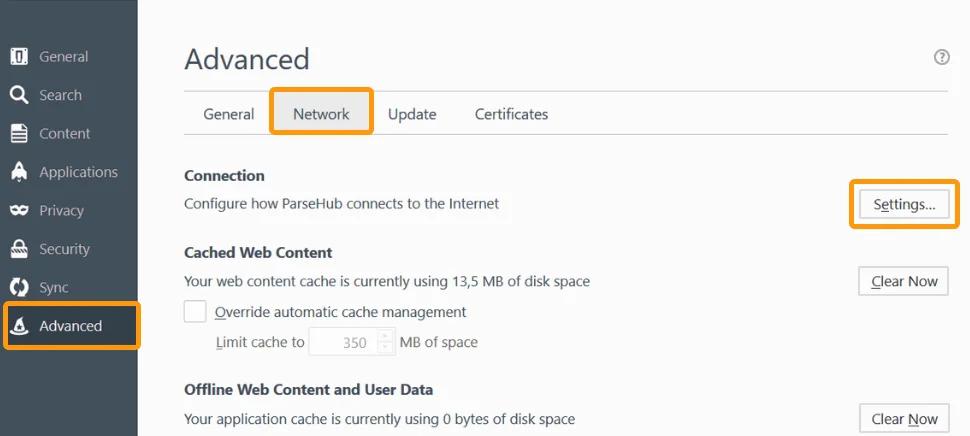
- Select "Advanced", then move to the "Network" tab and choose "Settings".
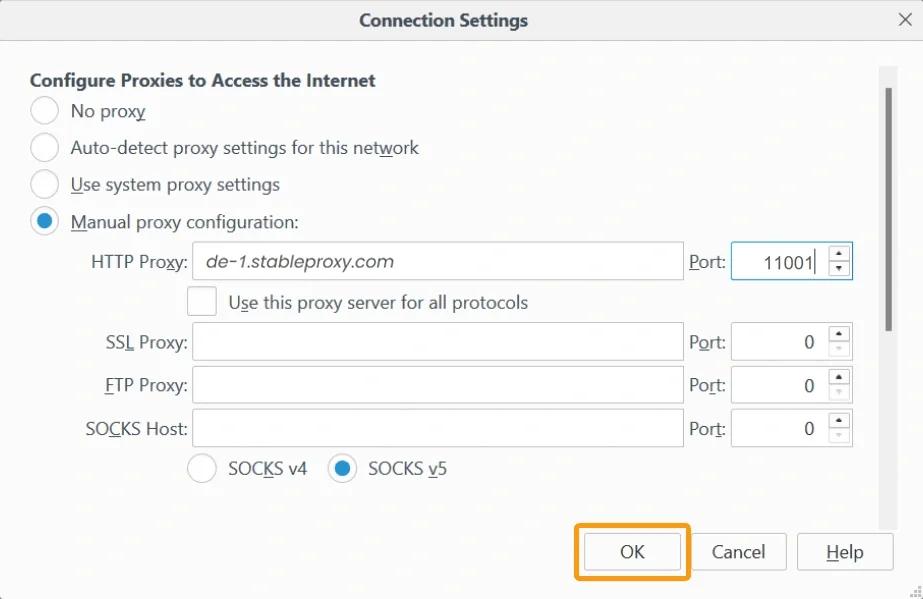
- Enter proxy settings using the information available on the control panel.
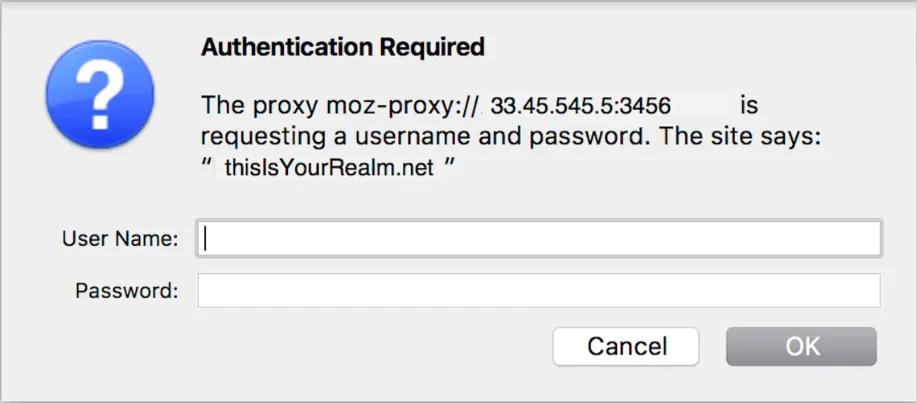
- Open a new tab and navigate to any website. You should see a message similar to the one shown in the image below (the image is taken from Parsehub, your actual message might be slightly different).
How to integrate custom proxy servers with your Parsehub account?
- After launching the project, click on the settings at the top of the screen.
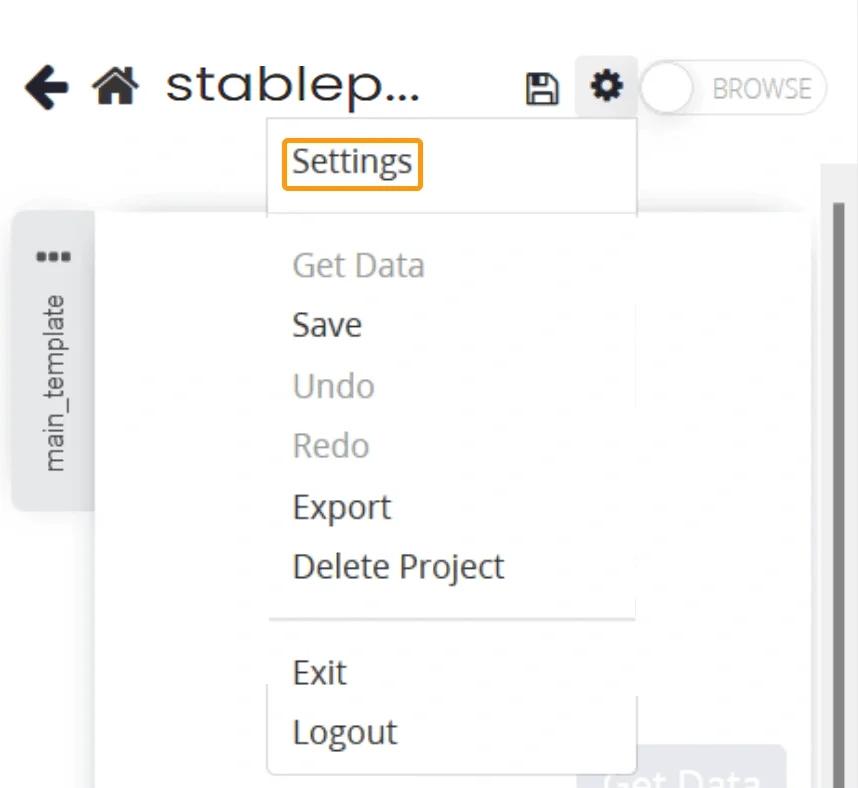
- In the "Settings" menu that opens, you will find a checkbox called "Rotate IP address". This is a premium feature of Parsehub, which requires a paid tariff.
Below you will see a text input field labeled "Custom Proxies". Paste the proxy you received here, with the corresponding domain (keep in mind that the custom proxy shown here is an example from Parsehub, your proxy server will differ).
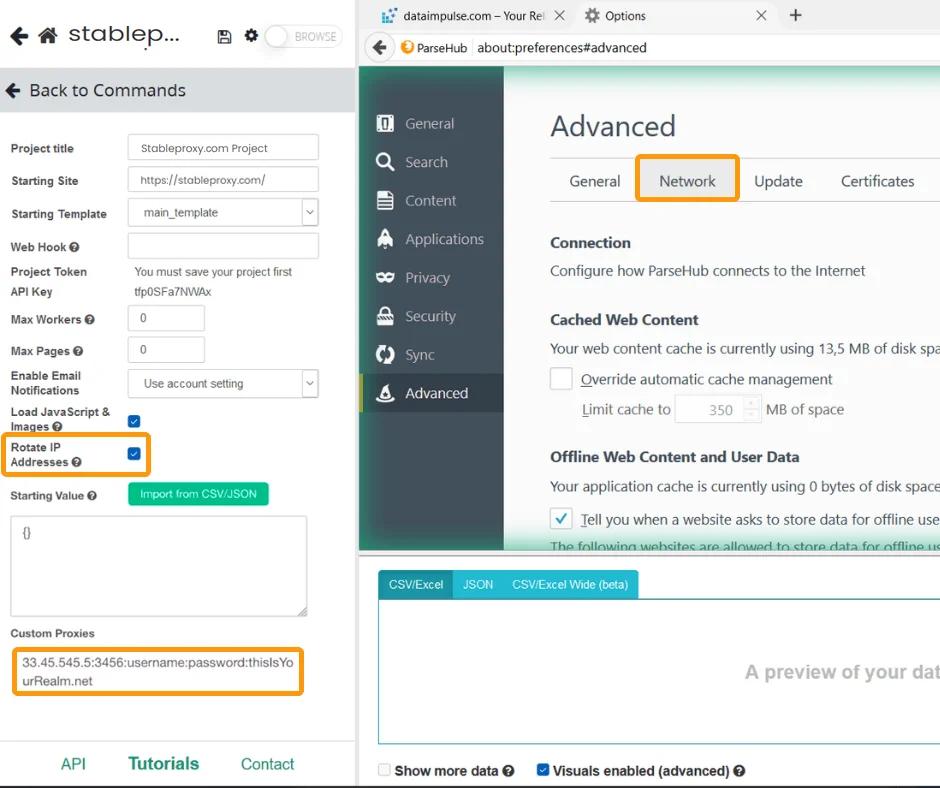
If you have multiple custom proxy servers that you want to use alternately, you can add them all to the "Custom Proxies" field, each on a new line. - After you have set up these proxy servers in your account, you can save the project and run it.
That's it! You have successfully integrated the Stableproxy proxy server into ParseHub. To ensure that everything is working correctly, you can check your IP address on the ip-api.com website.
StableProxy.pl © 2023-2024