Web scraping with WebHarvy - Setting up Stableproxy proxies
Published
Jun 28th, 2026
Topic
Manual
Reading time
10 mins


Author
StableProxy
What is WebHarvy?
WebHarvy is a powerful data collection tool with features for simplified extraction of text, HTML, and images from web pages, saving your time and resources. WebHarvy provides the convenience of authorization, form filling, and navigation through complex websites. Plus, proxy servers easily integrate with WebHarvy, allowing you to expand the potential of working with websites.
Boost your web scraping abilities by integrating Stableproxy servers into WebHarvy!
If you're ready to enhance your data collection skills from the network, integrating Stableproxy with WebHarvy will be a great solution. Proxy server support provides more productive and efficient public data collection. To get started, follow these steps:
- Download and install the WebHarvy application from webharvy.com.
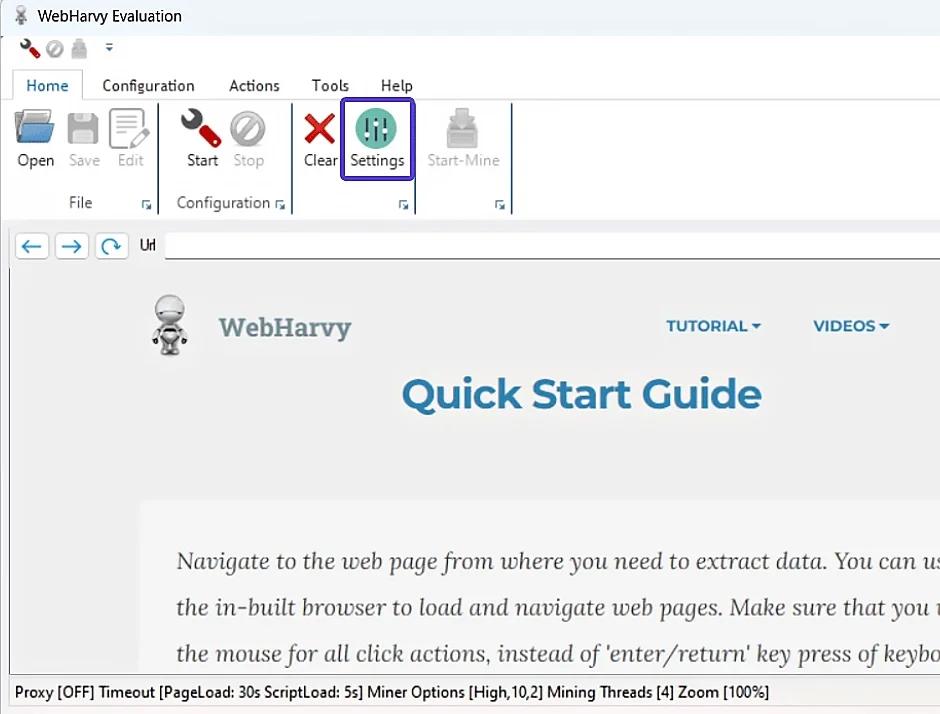
- After installing WebHarvy, open the "Settings" tab.
- Activate the connection via Proxy server by selecting the appropriate option. The connection type should be HTTP.
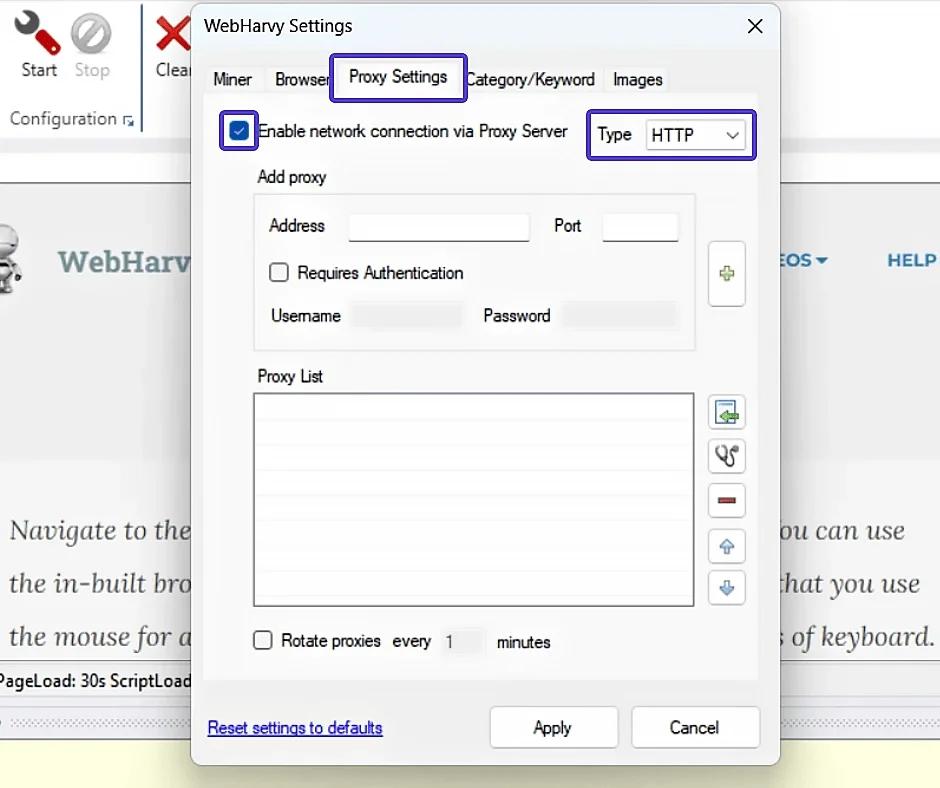
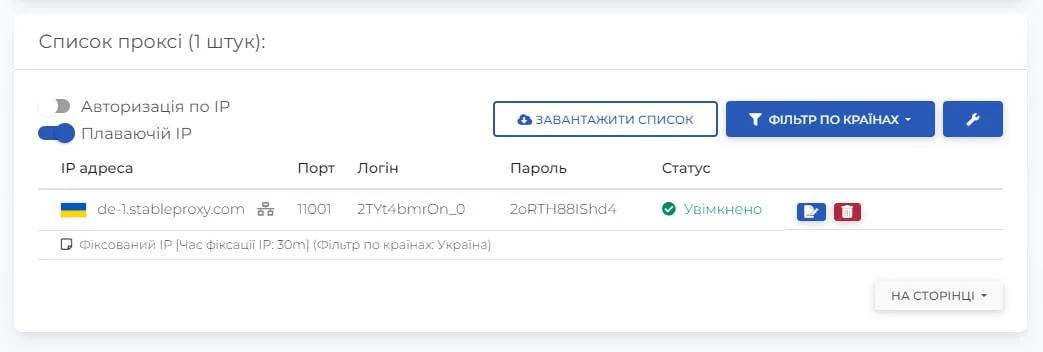
- Fill in the proxy server settings fields, based on the data in your control panel.
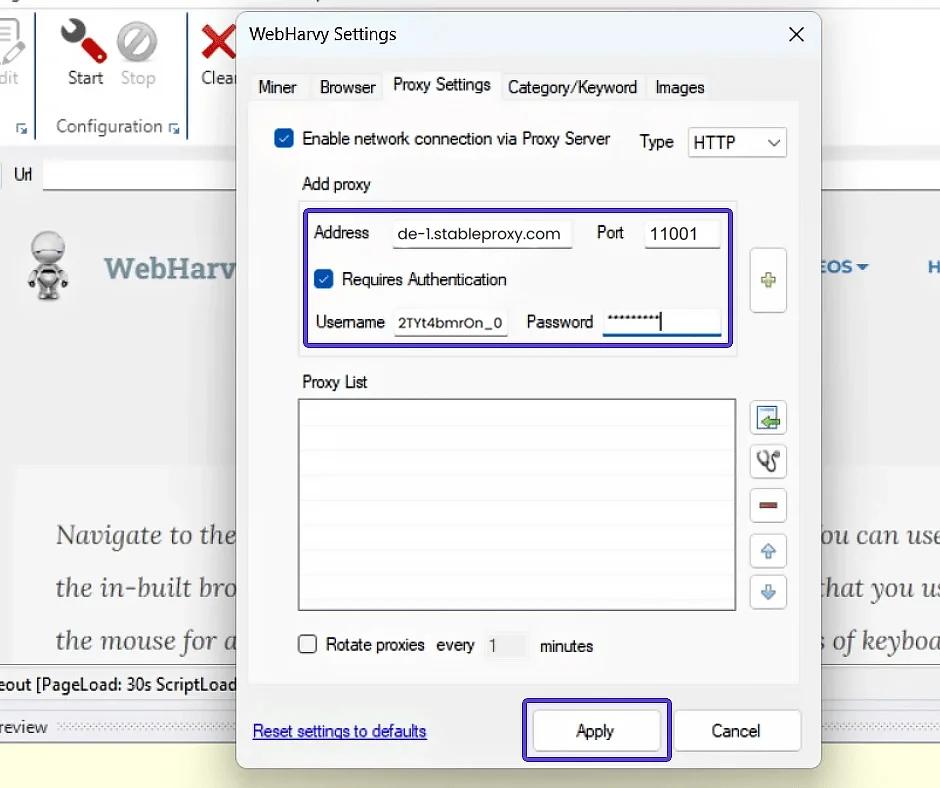
- Enable authentication by checking the box next to "Authentication required". Insert the username and password of the Stableproxy subuser. To add the just entered proxy server to the list, click on the plus. And to complete the process of integrating the proxy into WebHarvy, click the Apply button.
So, now WebHarvy with configured proxy servers is capable of anonymous data collection with unlimited access.
To search for data through WebHarvy, follow these simple steps:
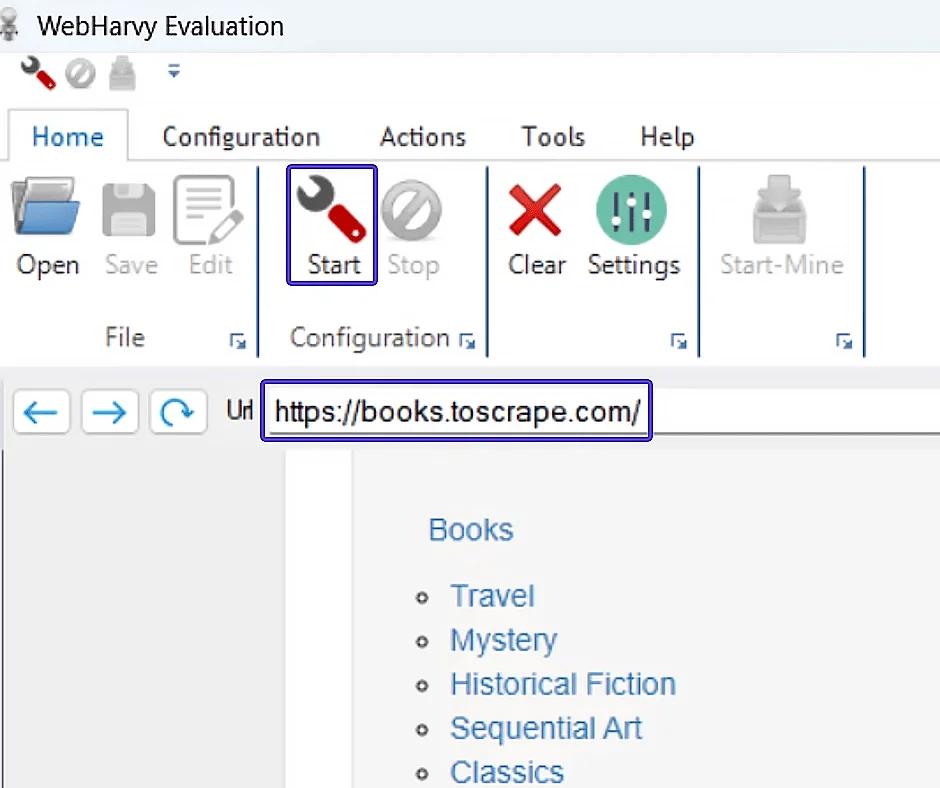
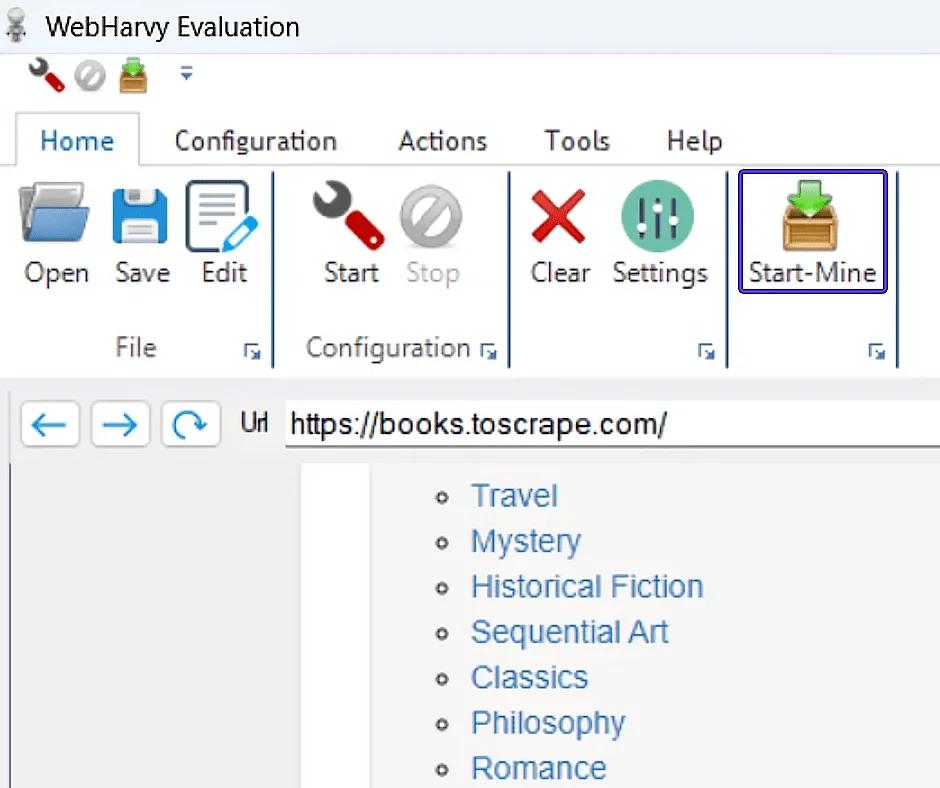
- Open the website whose data you want to collect. Let's take https://books.toscrape.com/ as an example.
- To start data collection, press the Start button in WebHarvy.
- Specify specific attributes for extraction, such as book titles and their price. In WebHarvy, thanks to the interactive interface, you can simply click on the necessary elements on the page to select them. Data pattern recognition on the web page is done automatically, making your job easier. If there is a lot of data and it repeats, WebHarvy automatically includes it in the list for collection, without requiring additional actions from the user.
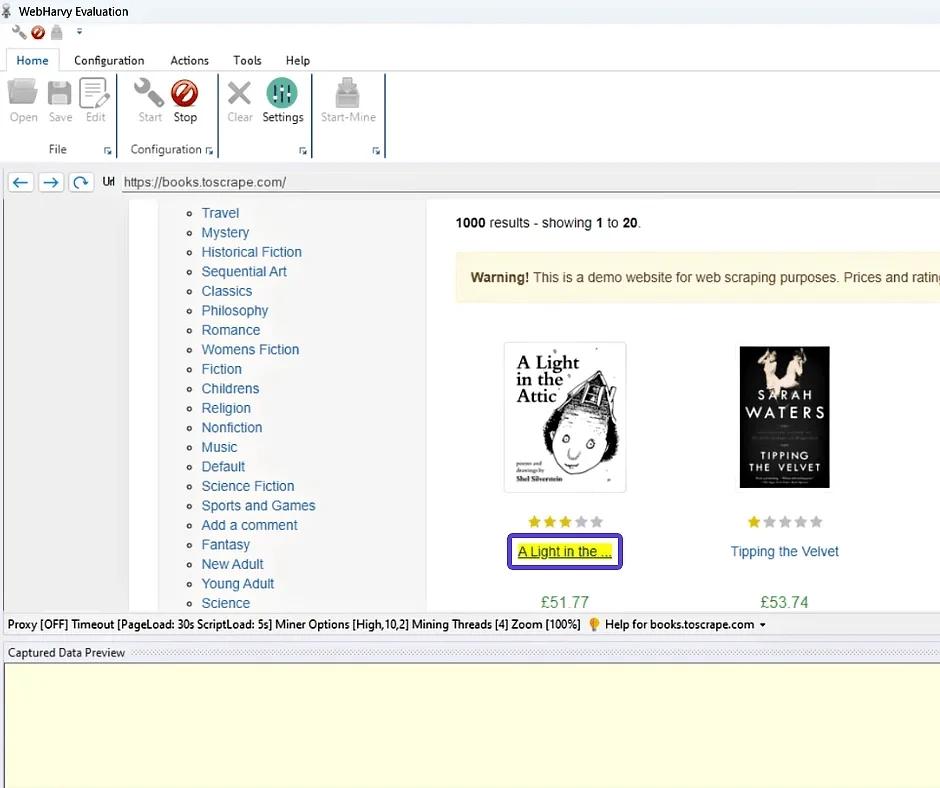
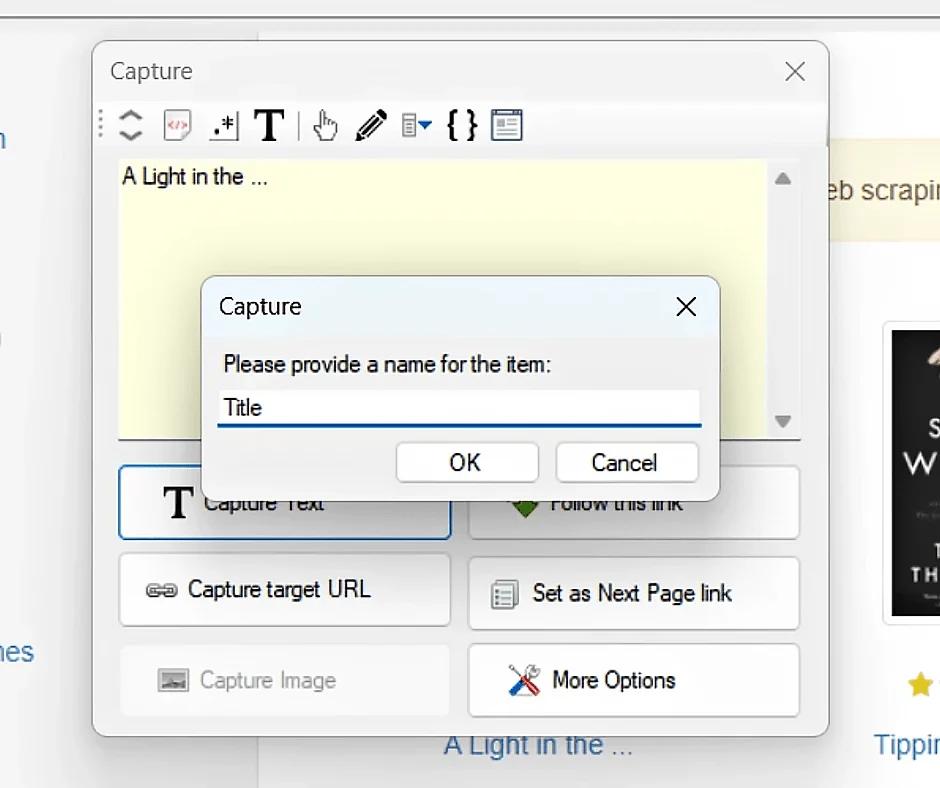
- Select the data necessary for extraction and add them through the "Capture Text" item. Don't forget to name the selected elements.
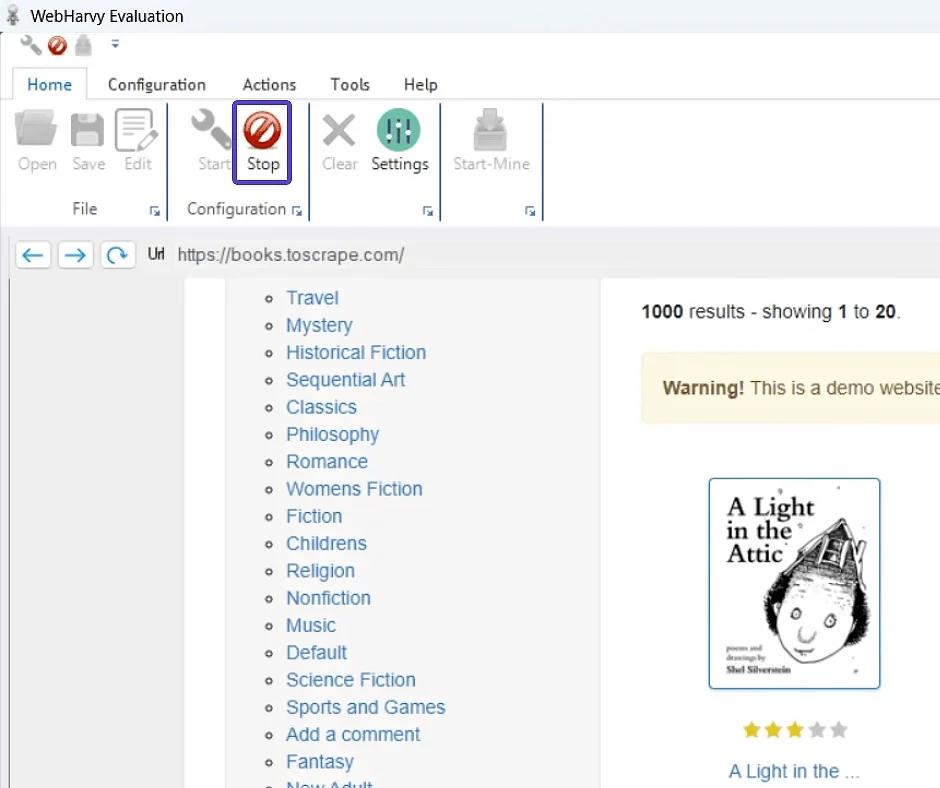
- After finishing the data selection, press "Stop" to end the setup session.
- To start data extraction, click on "Start-Mine", and then press ▶Start.
- After the data extraction session is over, open "Export" and select the export format that suits you. WebHarvy allows you to save the collected data in Excel, XML, CSV, JSON, and TSV formats. If necessary, you can export data to a database.
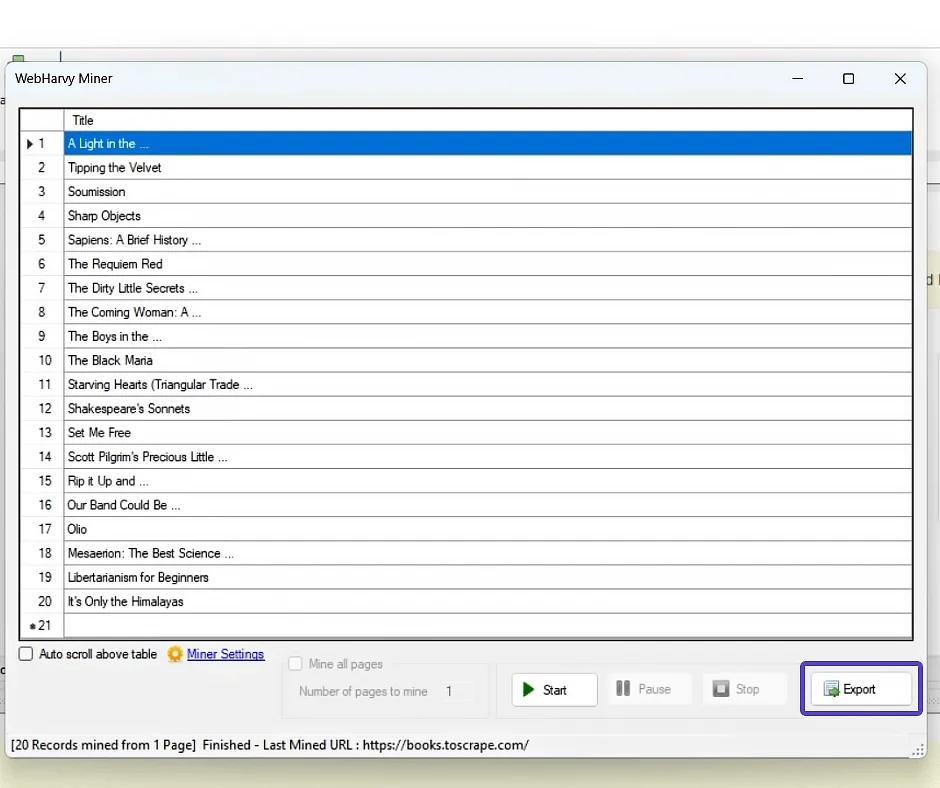
Great! You now have a spreadsheet with book titles and their corresponding prices.
StableProxy.pl © 2023-2024